Configure Cryptocurrency Hardware Wallet
First steps with Ledger Nano S

1. UPDATE YOUR LEDGER NANO S’ FIRMWARE
Before initializing your device, make sure to update your Ledger Nano S with its latest firmware. Firmware updates include additional features and important security improvements. The update can take up to 15 minutes, you’ll find a step-by-step (installation guide).
Once you’ve updated your Nano S, you can proceed with the initialization steps detailed below.
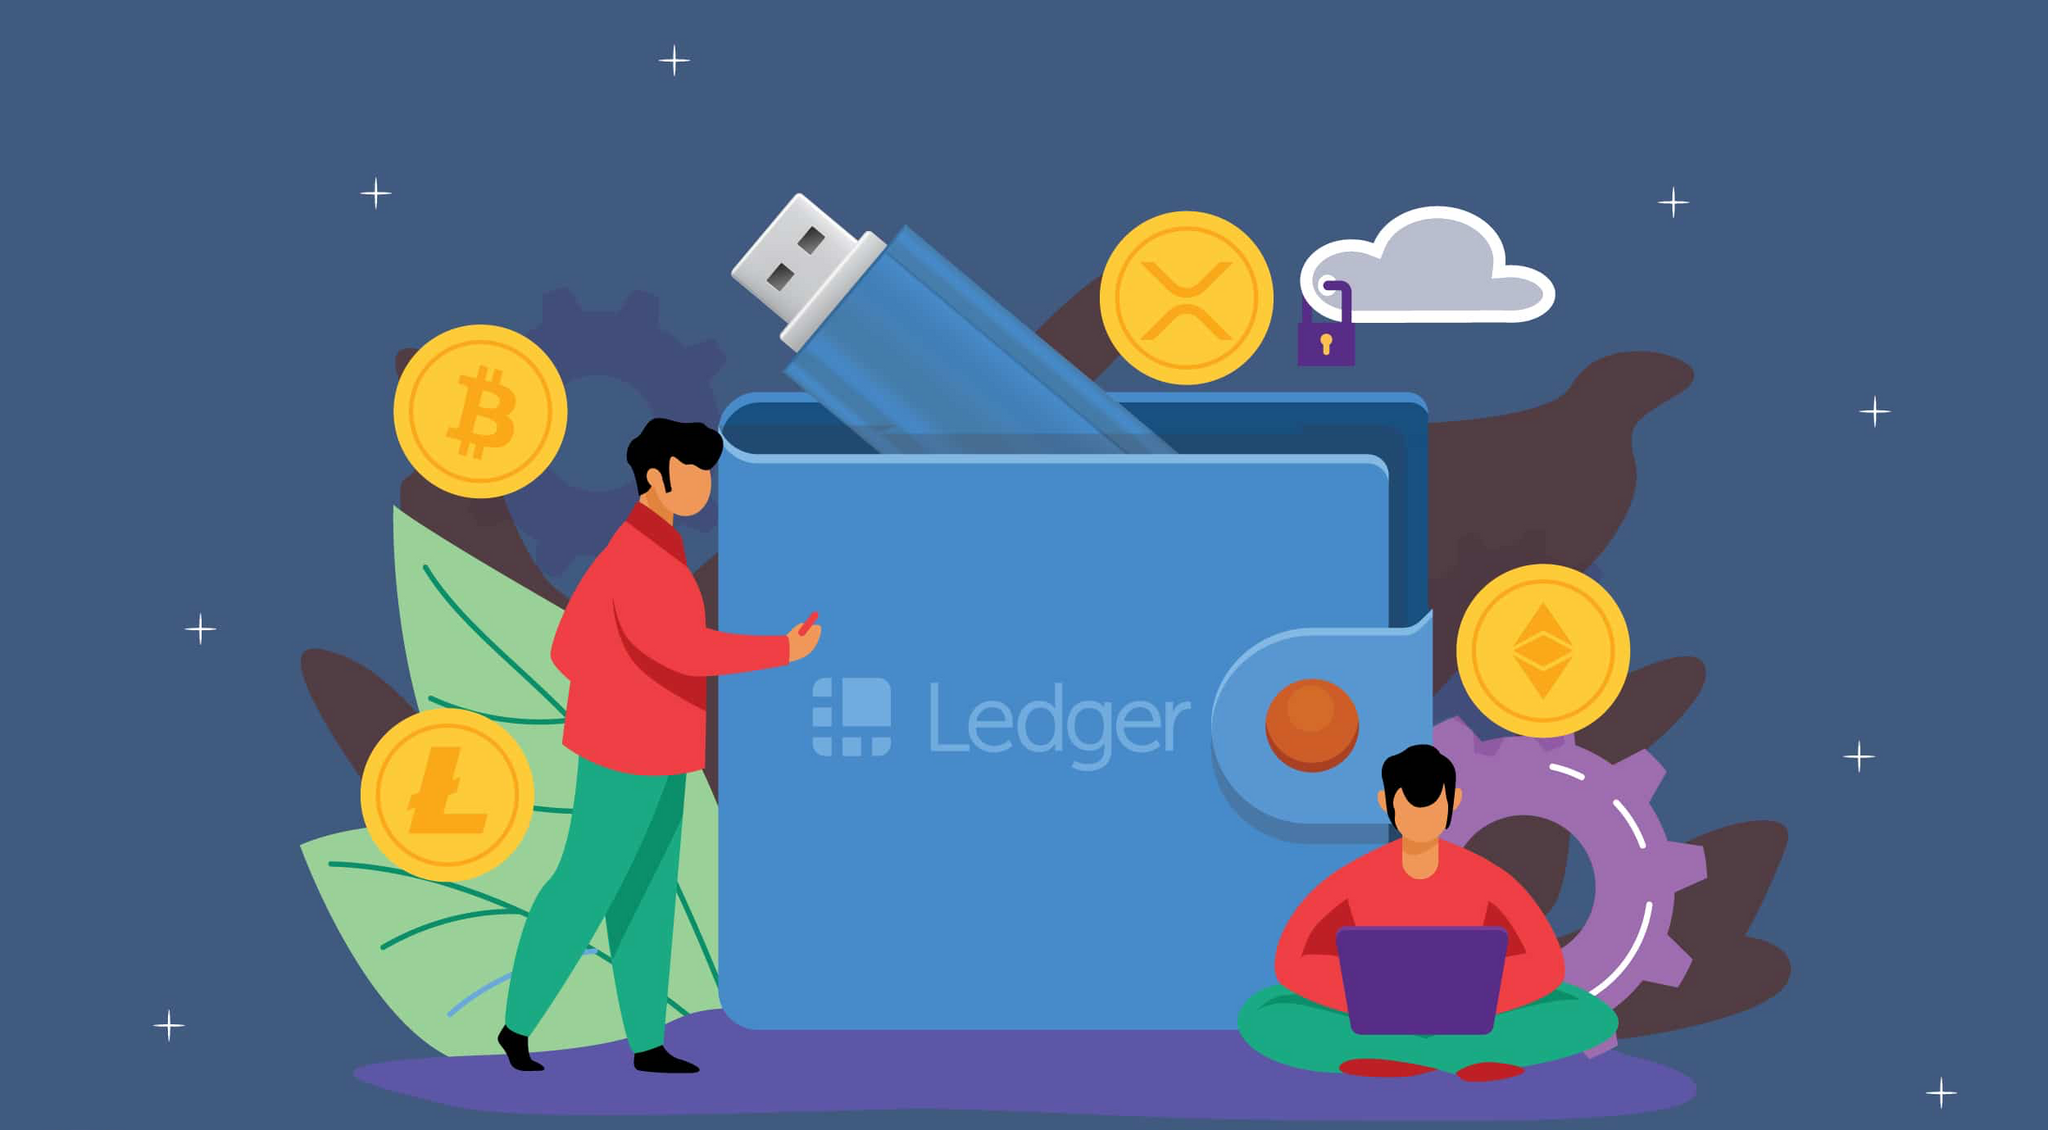
2. CONNECT YOUR LEDGER NANO S
Plug your Nano S with the USB cable on a computer, and follow the instructions on the embedded small screen. You can choose to create a new wallet, or import a Bitcoin account or an Ethereum account. Whatever your selection, you just need to observe the on-screen instructions all along the process, selecting and validating with the two buttons above the display.
3. CHOOSE A PIN CODE
Choose and memorize your four-digit PIN code that will be requested each time you connect your Nano S. Confirm this PIN code and be careful to remember it: 3 wrong successive PIN codes will reset your Nano S.
4. BACKUP YOUR RECOVERY PHRASE
Copy on the “Recovery sheet” supplied in the box the 24 words in order of appearance. This step is really important to guarantee you can recover anytime your wallet in case of loss or theft. You won’t be able to finish the configuration without confirming you copied the 24 words by selecting some of them as requested. Keep your “Recovery sheet” in a safe place.
5. INSTALL LEDGER APPS
Once you’ve seen the mention: “Your device is now ready”, your Nano S is configured. Now you just have to install the Ledger Apps on your computer to use your wallet. In your Chrome or Chromium 50+ browser, download for free the Ledger Wallet Bitcoin Chrome app or the Ledger Wallet Ethereum Chrome app. You’ll find these management interfaces on the Apps page. This apps get installed in few seconds, and the upgrades are free.
6. YOUR NANO S IS READY TO BE USED
Now you can use your Nano S with your Chrome apps on any computer, even a compromised one, to send or receive payments. Each transaction will be verified on the embedded display, and validated with buttons.